Photo to cross stitch: 8 tips for great results
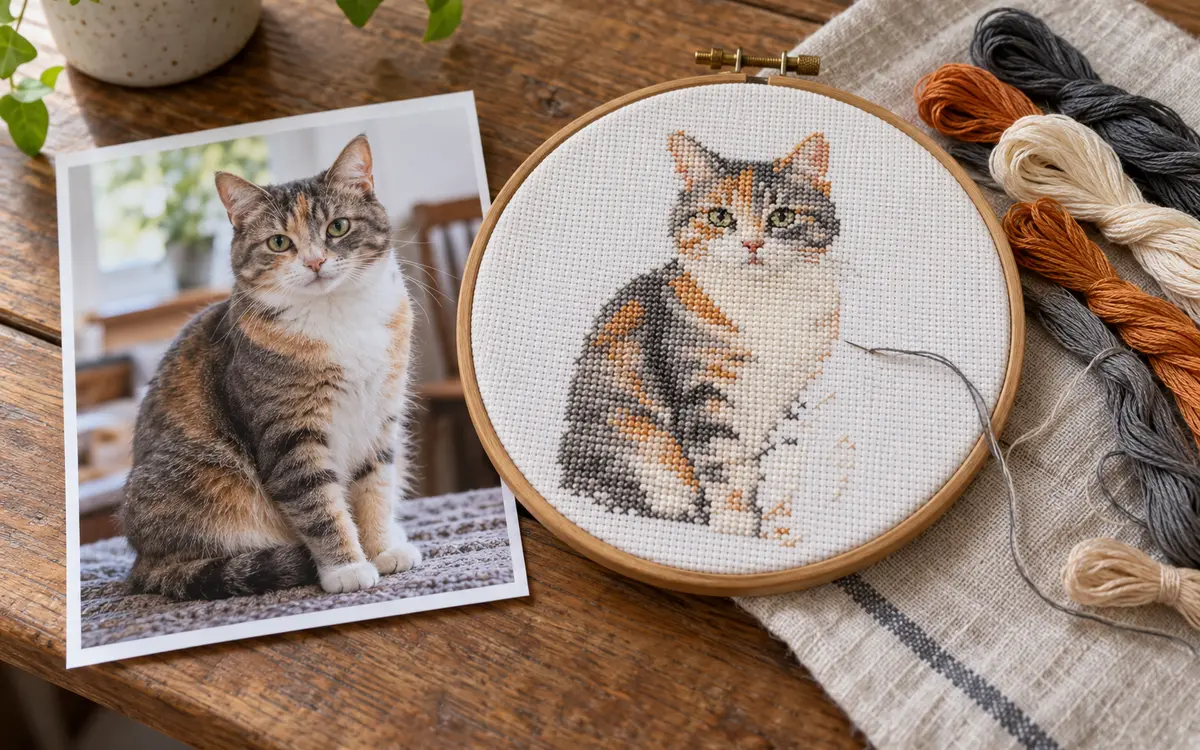
Your pet, your favorite house, your grandparents: turning a photo into cross stitch makes a lovely gift. Whether it works out is mostly decided before you convert – by the photo you pick and the settings you choose.
1. Pick a clear subject
Photos with one clear subject, good light and crisp edges work best. A dog against a plain wall makes a great pattern; a group of ten people against the light does not. Fine detail gets lost in the conversion – anything already small in the photo turns into just a few stitches.
2. Crop tight
Crop the photo so the subject fills the frame. Every stitch spent on a dull background is missing from the face. A portrait works best when head and shoulders take up almost the whole picture.
3. Contrast before color
A photo that still looks good in black and white usually makes a good chart. Boost the contrast a little in a photo app first. Flat, gray images produce lots of similar colors that blend together on fabric.
4. Choose the width on purpose
The width in stitches decides how much detail is possible – and how long you'll stitch. As a rule of thumb:
- 40 to 60 stitches: symbols, silhouettes, simple animals
- 80 to 150 stitches: recognizable faces, pets, houses
- over 150 stitches: landscapes and detailed photos – a project for many weeks
The fabric calculator shows how big that will be on your fabric.
5. Start with few colors
Try a small number of colors first, say 12, and only add more if important details are missing. For photos, 20 to 40 colors is a good range. Every extra color means more thread changes, more skeins to buy and more single stitches.
6. Leave out the background
A fully stitched background takes a lot of time. It often looks better to stitch only the subject and let the fabric be the background. In Stitchmio you can choose “Remove background” when converting and tidy up with the eraser afterwards.
7. Clean up single stitches
Photo charts often have “confetti”: single stitches of one color in the middle of another area. They are a lot of work and barely show in the finished piece. When converting, Stitchmio can clean up such single stitches automatically (“Remove single stitches”), and you can do it later with one click, too. That saves time and makes areas calmer – especially on skin and sky.
8. Match floss and stitch a test
Assign a real floss color to every chart color and add its number. Hold the skeins side by side: if two colors look the same on fabric, merge them. Then stitch a small test with the most important colors, a piece of the face, for example. Screen colors and floss colors always differ a little.
How it works in Stitchmio
Open the pattern maker and choose “Convert a photo”. Set the width and number of colors – the conversion happens only on your device. Then edit any stitch, add floss numbers and print the chart as a PDF. More on the photo to cross stitch pattern page.
Frequently asked questions
How big should a photo pattern be?
For a recognizable face or pet, about 80 to 150 stitches wide. On 14-count Aida that is roughly 6 to 11 inches. Simple designs with clear shapes can be smaller.
Is my photo uploaded?
No. Stitchmio converts the image into a pattern right in your browser. The photo never leaves your device.